Difference between revisions of "Prusa"
m (La inn nyttige lenker) |
|||
| Line 17: | Line 17: | ||
* Print only in 3Dnet or polymaker 1.75 PLA filament. | * Print only in 3Dnet or polymaker 1.75 PLA filament. | ||
* Use only 0.4 mm nozzle size. | * Use only 0.4 mm nozzle size. | ||
| − | * Only use this printer if you need multi material printing. | + | * Only use this printer if you need multi material printing. Use our [[Ultimaker]] or [[Creality]] printers otherwise. |
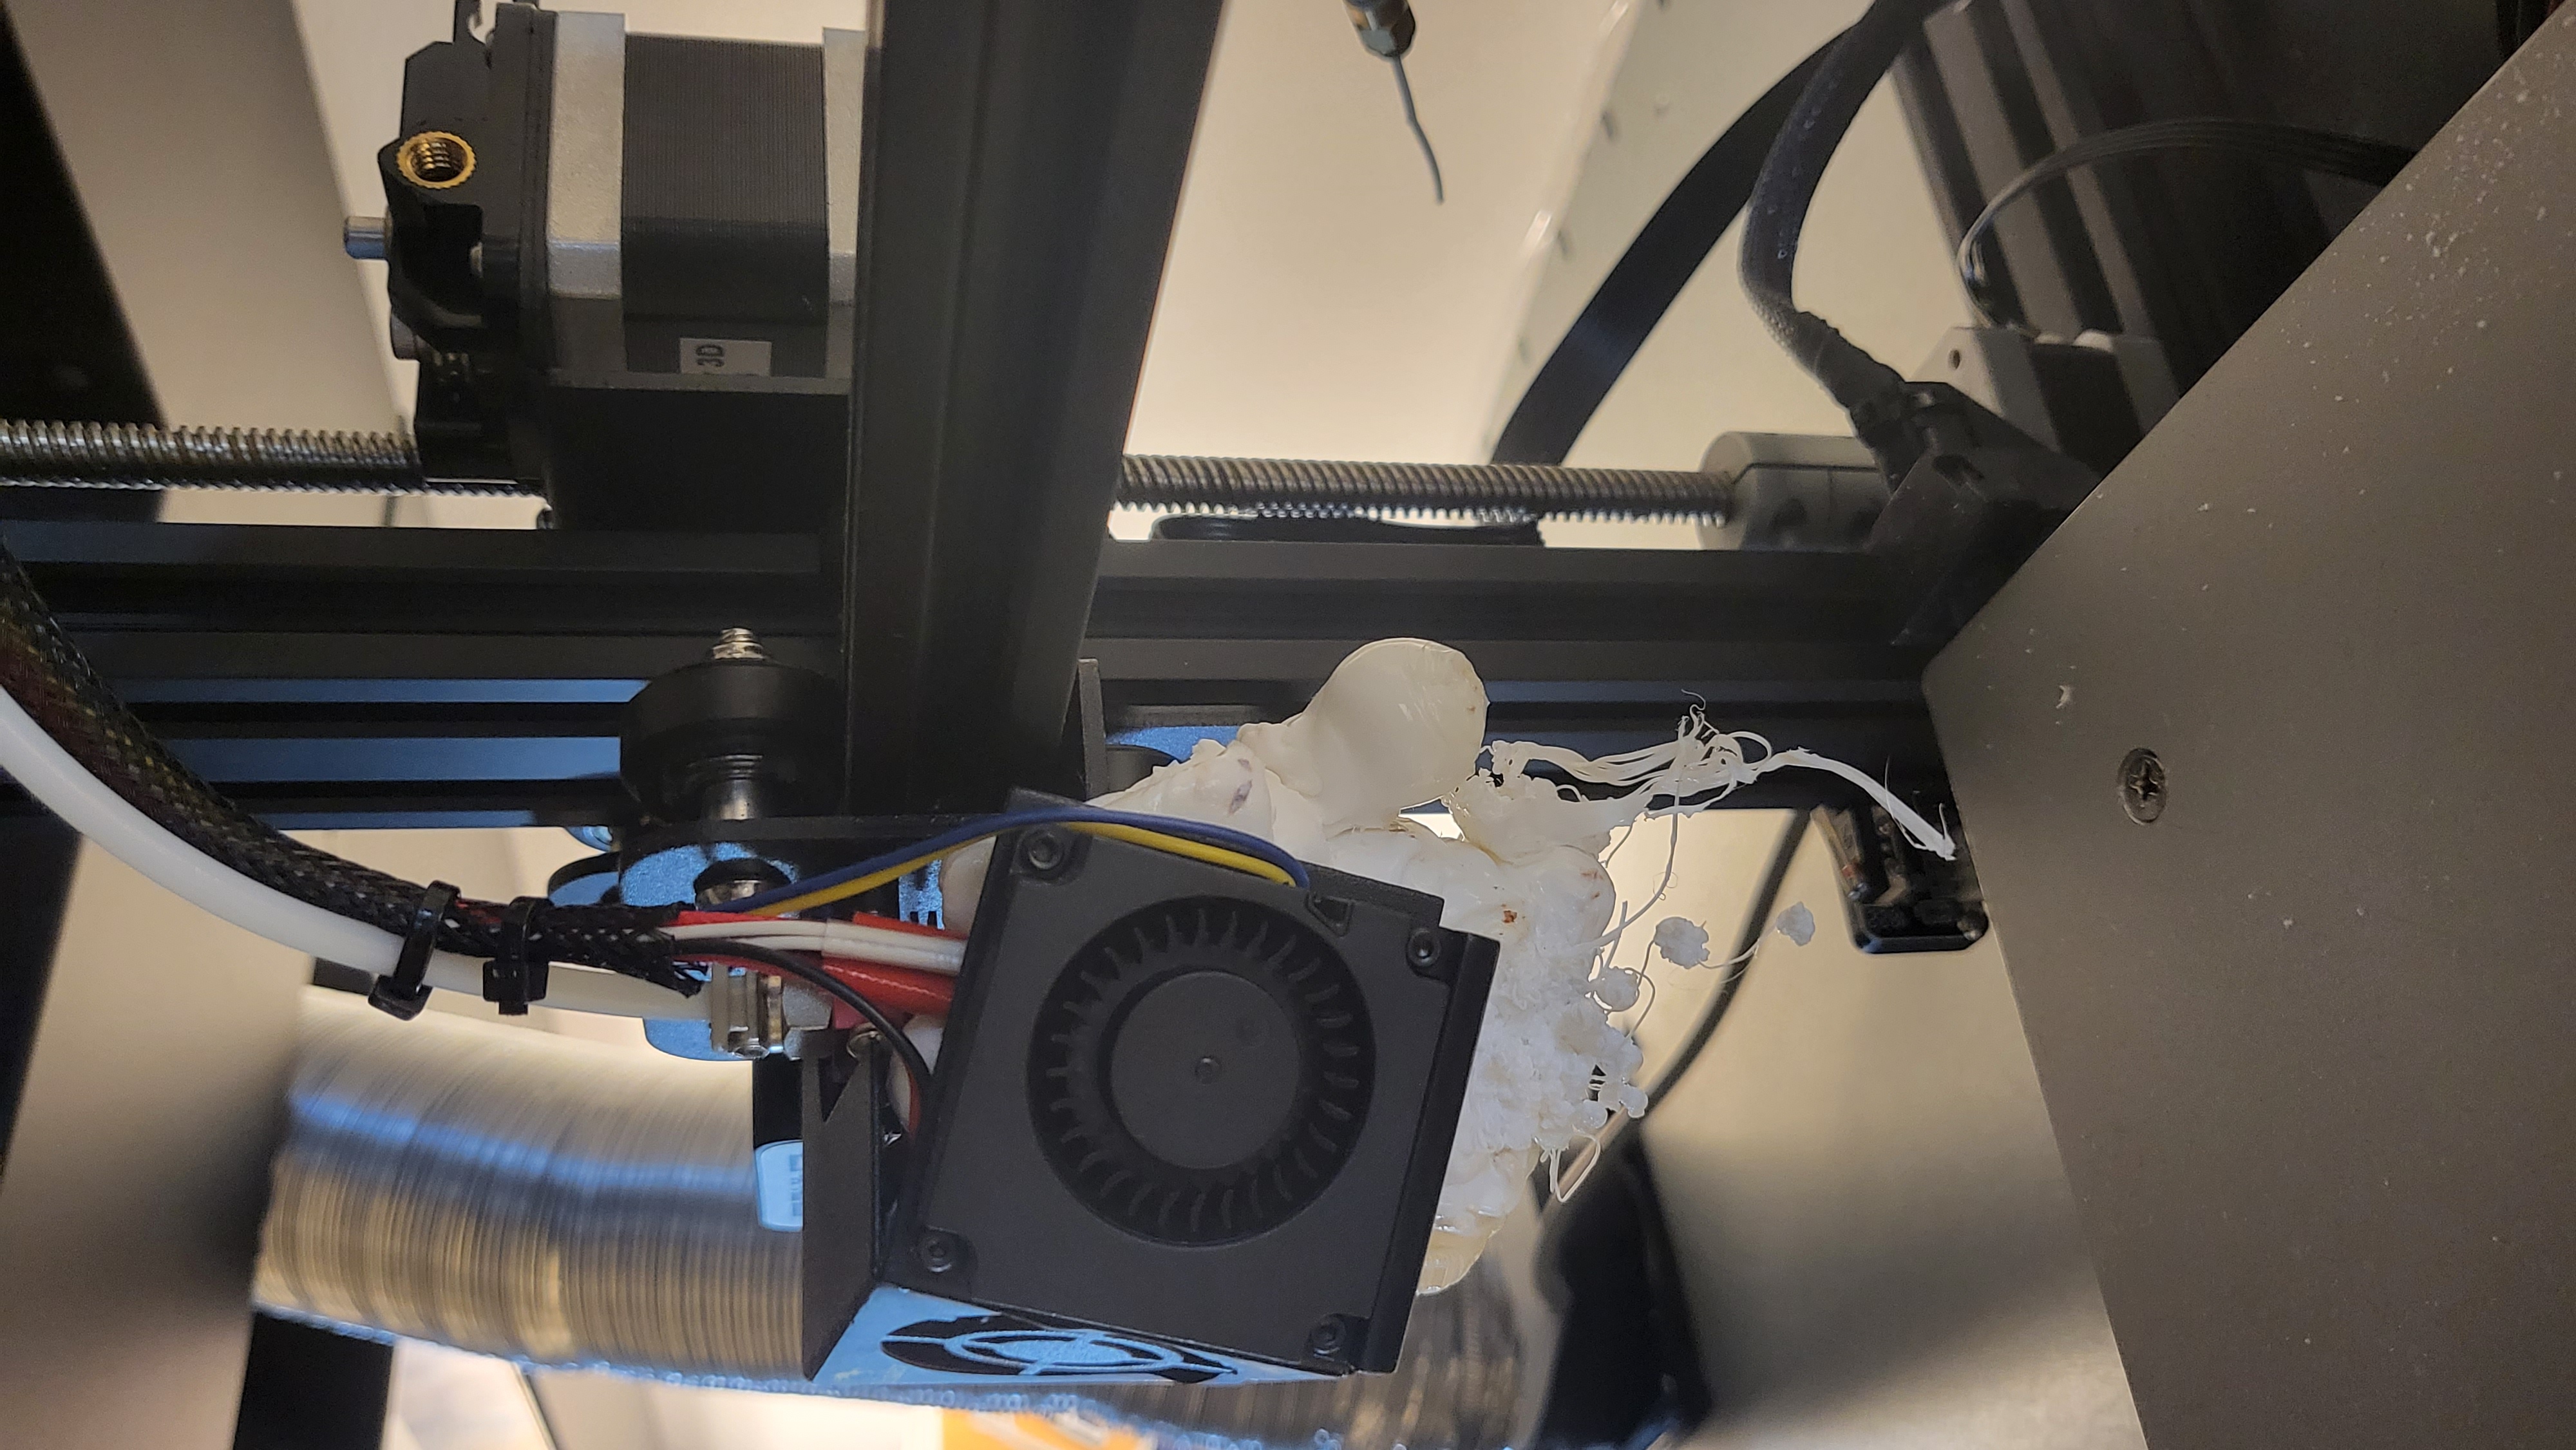
* Do not leave the printer before the first layer is completed. Most errors arise during this stage and in 2020 this destroyed a [[Media:Print_fail.jpg | printer]]. | * Do not leave the printer before the first layer is completed. Most errors arise during this stage and in 2020 this destroyed a [[Media:Print_fail.jpg | printer]]. | ||
| − | * If you want instruction, have trouble with the printer or we are running low on materials, contact the engineer [mailto: | + | * If you want instruction, have trouble with the printer or we are running low on materials, contact the engineer [mailto:ifi-sonen@ifi.uio.no here]. |
=== Workflow === | === Workflow === | ||
The workflow in any prototyping using 3D printers is: | The workflow in any prototyping using 3D printers is: | ||
# '''Retrieving/creating a 3D model:''' You can fetch files from creator spaces such as [https://www.thingiverse.com/ Thingiverse] or model them your self, using a CAD tool such as [https://www.autodesk.com/products/fusion-360/students-teachers-educators Fusion360], [https://robin.wiki.ifi.uio.no/Solidworks SolidWorks] or [https://www.blender.org/download/ Blender]. | # '''Retrieving/creating a 3D model:''' You can fetch files from creator spaces such as [https://www.thingiverse.com/ Thingiverse] or model them your self, using a CAD tool such as [https://www.autodesk.com/products/fusion-360/students-teachers-educators Fusion360], [https://robin.wiki.ifi.uio.no/Solidworks SolidWorks] or [https://www.blender.org/download/ Blender]. | ||
| − | # '''Generate | + | # '''Generate toolpaths for the 3D printer:''' The tool for generating toolpaths for 3D printers is called a [https://en.wikipedia.org/wiki/3D_printing slicer]. For the Prusa we use [https://www.prusa3d.com/page/prusaslicer_424/ PrusaSlicer]. |
# '''Setting up the hardware:''' Make sure that the build plate is clean, the machine is calibrated, and when you start your print please make sure the first layer turns out as expected. | # '''Setting up the hardware:''' Make sure that the build plate is clean, the machine is calibrated, and when you start your print please make sure the first layer turns out as expected. | ||
| Line 34: | Line 34: | ||
== Setting up the hardware == | == Setting up the hardware == | ||
| − | The standard nozzle size is .4 mm. | + | The standard nozzle size is 0.4 mm. |
===Before pressing start=== | ===Before pressing start=== | ||
Make sure the build plate is [https://support.ultimaker.com/hc/en-us/articles/360011905519-Cleaning-the-Ultimaker-2- clean]. Use lukewarm flowing water to get rid of leftover materials, glue, or dirt. After starting the print, make sure that the first layer turns out as expected. Most errors arise during this stage of the print job. | Make sure the build plate is [https://support.ultimaker.com/hc/en-us/articles/360011905519-Cleaning-the-Ultimaker-2- clean]. Use lukewarm flowing water to get rid of leftover materials, glue, or dirt. After starting the print, make sure that the first layer turns out as expected. Most errors arise during this stage of the print job. | ||
| Line 47: | Line 47: | ||
# Calibrate bed level. The Prusa i3 mk2 has automatic bed leveling. [https://help.prusa3d.com/article/mesh-bed-leveling_112163 Here] you can find a guide on how to start automatic bed leveling. | # Calibrate bed level. The Prusa i3 mk2 has automatic bed leveling. [https://help.prusa3d.com/article/mesh-bed-leveling_112163 Here] you can find a guide on how to start automatic bed leveling. | ||
| − | If this does not help, please notify the engineer [mailto: | + | If this does not help, please notify the engineer [mailto:ifi-sonen@ifi.uio.no here]. |
=== Clog === | === Clog === | ||
Revision as of 09:53, 26 May 2023

Contents
Getting started with 3D printing on the Prusa i3 mk2
Our Prusa i3 mk2 has a multi material upgrade. It is our only printer capable of printing in multiple materials. At Sonen this is restricted to printing in different colors of PLA.
Required Safety Equipment
None
Hazards

The bed and nozzle are hot during, and after printing.

Moving parts during operation.


Guidelines
- Do not use the printer unless you know how to use it.
- Print only in 3Dnet or polymaker 1.75 PLA filament.
- Use only 0.4 mm nozzle size.
- Only use this printer if you need multi material printing. Use our Ultimaker or Creality printers otherwise.
- Do not leave the printer before the first layer is completed. Most errors arise during this stage and in 2020 this destroyed a printer.
- If you want instruction, have trouble with the printer or we are running low on materials, contact the engineer here.
Workflow
The workflow in any prototyping using 3D printers is:
- Retrieving/creating a 3D model: You can fetch files from creator spaces such as Thingiverse or model them your self, using a CAD tool such as Fusion360, SolidWorks or Blender.
- Generate toolpaths for the 3D printer: The tool for generating toolpaths for 3D printers is called a slicer. For the Prusa we use PrusaSlicer.
- Setting up the hardware: Make sure that the build plate is clean, the machine is calibrated, and when you start your print please make sure the first layer turns out as expected.
PrusaSlicer
Guides for using PrusaSlicer with the MMU can be found here.
Version
As a rule of thumb, we recommend using the latest version of PrusaSlicer.
Setting up the hardware
The standard nozzle size is 0.4 mm.
Before pressing start
Make sure the build plate is clean. Use lukewarm flowing water to get rid of leftover materials, glue, or dirt. After starting the print, make sure that the first layer turns out as expected. Most errors arise during this stage of the print job.
When print is finished
When the print is finished clean the plate again. If the object is stuck, you may use a scraping tool. However, make sure you don't harm the print bed. Hence use scraping tools with care.
Errors
If a print goes wrong, do the accordingly:
- Check setup in PrusaSlicer and on the printer.
- Rewash the bed level.
- Calibrate bed level. The Prusa i3 mk2 has automatic bed leveling. Here you can find a guide on how to start automatic bed leveling.
If this does not help, please notify the engineer here.
Clog
Clogging of the nozzle typically occurs when the workpiece has tilted due to overhang, wrong settings in PrusaSlicer, or wrong filament type. A solution to clogged nozzle is using the Atomic Method